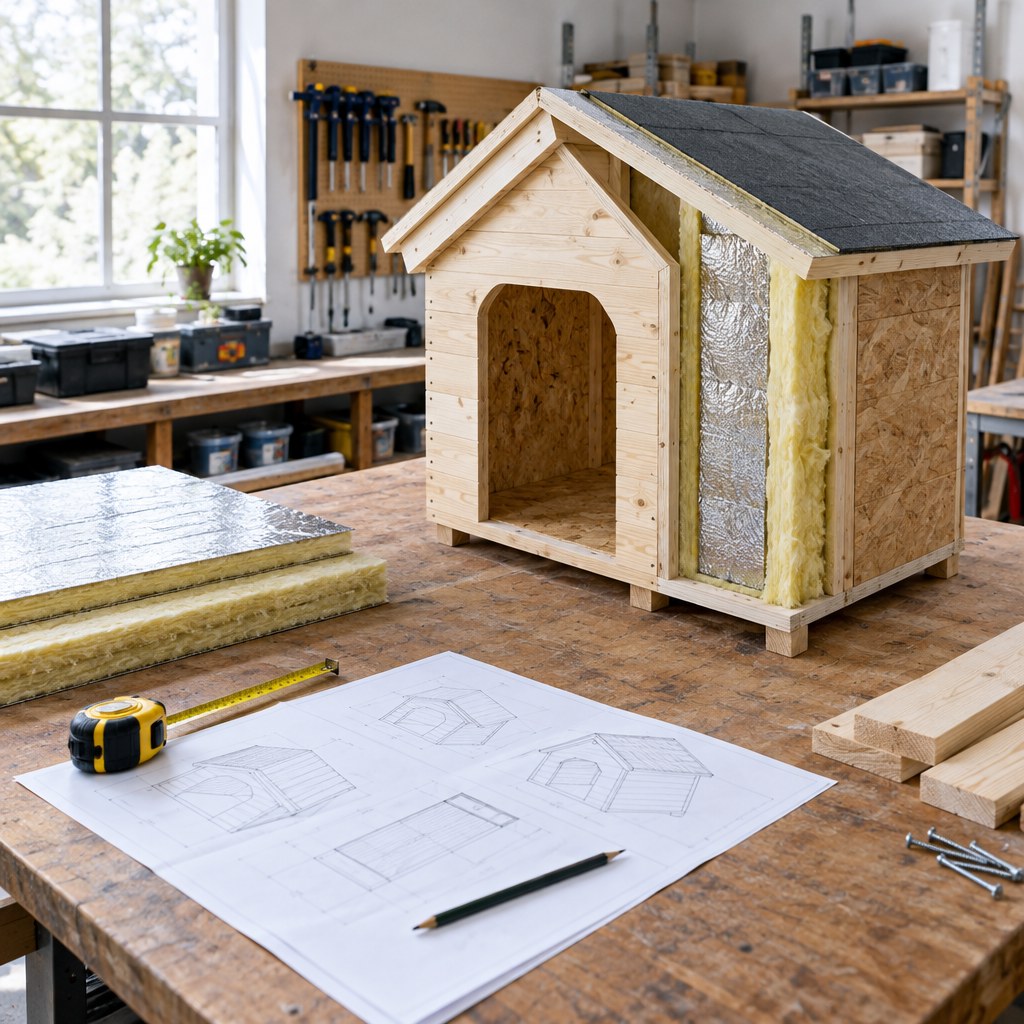
Illustrative shelter scene; not a photograph of an ANIMOX product test.
Disclosure: ANIMOX earns commissions from eligible purchases through product links on this site. This informational guide does not claim hands-on testing or veterinary review.
A successful insulated dog house begins on paper: the dog’s usable space, the wall assembly, the roof, the floor, and the route for cleaning all need to work together. This guide walks through those decisions and the assembly sequence. It is a planning guide, not a dimensioned structural blueprint.
1. Decide where the house will sit
Choose a level, well-drained location with access for inspection and cleaning. Consider rain exposure, prevailing wind, and the route the dog will use. A structure under a covered porch has different roofing requirements from one exposed in a yard.
Resolve local building requirements before ordering materials, especially if the project involves regulated work. Set aside a construction area where pets cannot reach offcuts, fasteners, or adhesives. If the chosen site collects runoff or cannot offer a suitable resting environment, relocate the project first.
2. Draw the usable interior before the exterior
Measure your dog standing and resting, then plan the usable compartment and doorway. Add the actual thickness of interior panels, insulation, bedding, and framing to determine the outside dimensions. An exterior size copied from another dog’s house can leave yours with too little room.
Plan cleaning access at this stage. A roof that opens needs secure support and a reliable latch; a removable floor must still carry the intended load. Use a complete dimensioned design with a fastener schedule rather than inventing structural details as you assemble it.
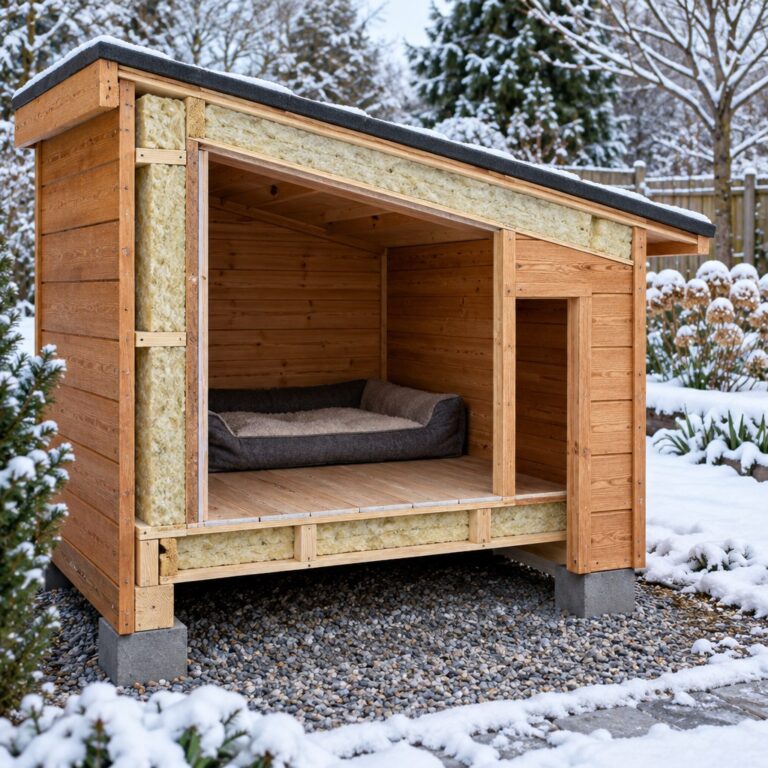
3. Choose a complete wall and floor assembly
The insulation belongs inside a protected assembly, away from the dog’s teeth and paws. Select materials and finishes appropriate for the exposure and follow their instructions. Do not leave foam edges, fibers, adhesive, staples, or sharp fasteners accessible in the resting area.
Plan the base with the walls. It needs stable support, separation from ground moisture, and an entrance your dog can manage. Adding insulation above the floor changes finished headroom, so include every layer in the drawing before cutting the frame.
4. Assemble the stable shell first
Follow the selected plan’s joint and fastening details rather than deciding them midway through assembly. Measure corner alignment as the frame comes together and set it on a stable base. Suitable tools, intact guards, and personal protection belong in the workflow from the first cut.
Dry-fit the doorway and access panels before covering the framing. Confirm that there is room for the planned interior layers. Inspect every inside surface for protrusions and gaps that could catch a collar, paw, or bedding.
5. Protect insulation and manage weather
Install insulation as specified for that material, then enclose it behind durable panels. The dog should encounter finished surfaces, not exposed foam, fibers, or adhesive edges. Allow finishes and adhesives to cure for their stated time before the shelter is occupied.
Build the roof for the real exposure. Protect seams and edges using the roofing system’s instructions. Keep ventilation intentional rather than sealing every opening in pursuit of warmth. Do not claim a thermal rating for a homemade assembly unless it has been established.
6. Keep the project separate from electrical work
Do not include improvised heaters, lamps, or household electrical equipment in the shelter. If a heating product is later used, it must be suitable for the exact setup and installed under its own requirements. Insulation does not make a damaged cord or wet connector safe.
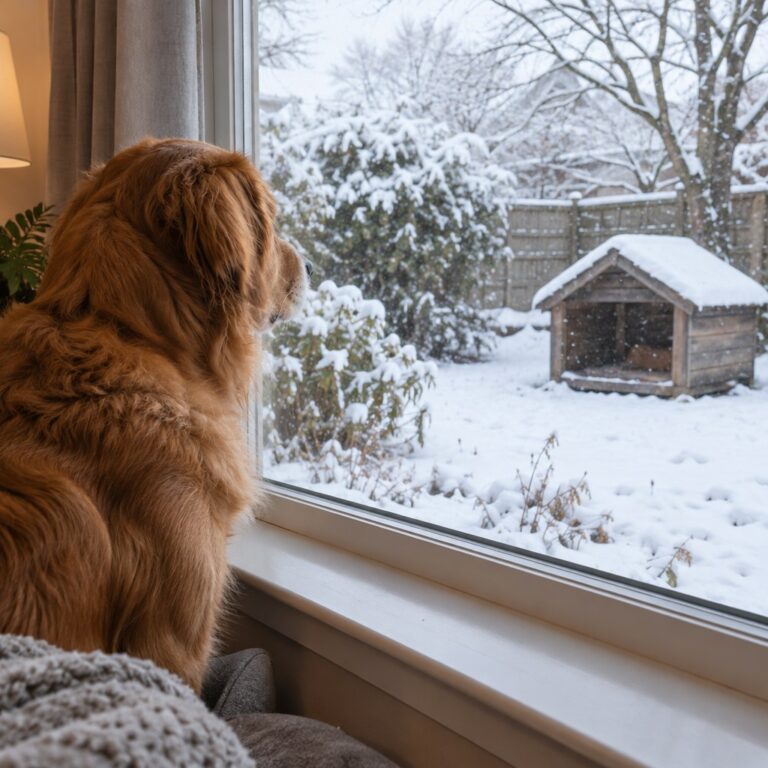
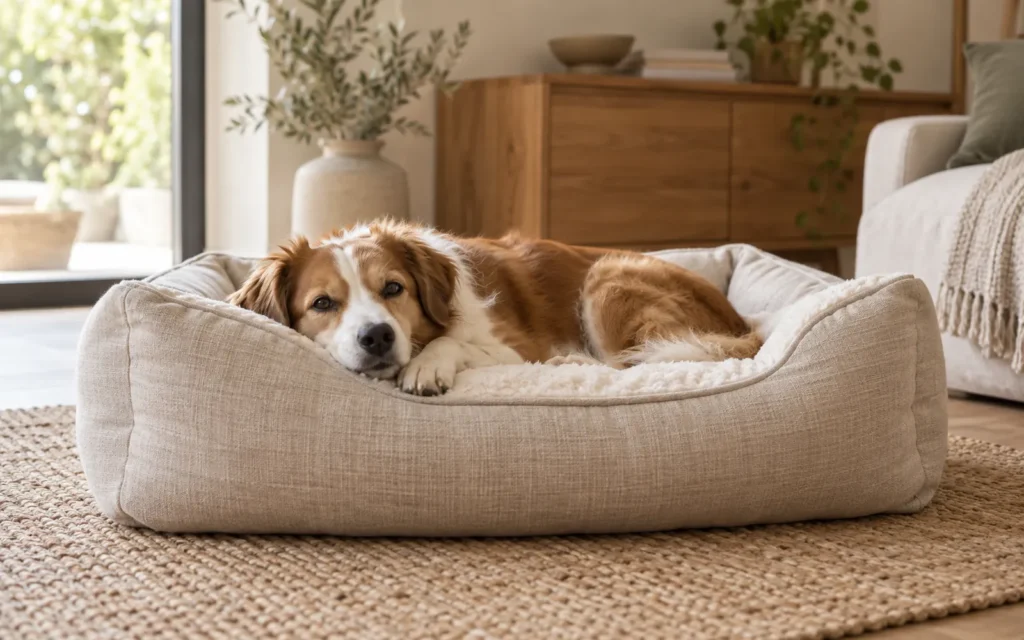
A project without electrical equipment still needs an indoor fallback during unsuitable weather. The fact that you built the house carefully does not establish a safe temperature for your dog.
7. Inspect before introducing the dog
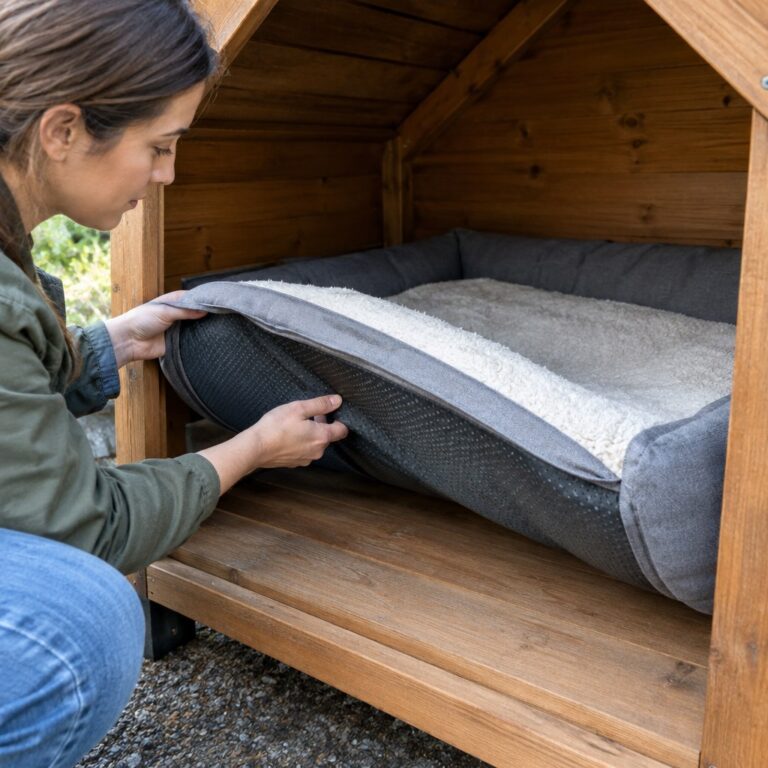
Inspect the completed interior with the dog elsewhere. Run your hand along accessible surfaces for sharp edges, examine panel fixings, and open the cleaning access fully. After rain, look for water at seams and beneath the floor covering before adding bedding.
Let the dog approach and explore at its own pace. With bedding installed, confirm that it can enter, turn, and rest without crowding. Later inspections should follow weather changes or signs of chewing, because a sound first assembly does not eliminate maintenance.
Build or buy?
DIY offers control over size and access, but it also puts material selection and assembly responsibility on you. Our insulated dog house selection guide helps organize the requirements, while the commercial insulated house shortlist provides a buying alternative.
For an example of a documented build, see April Wilkerson’s insulated dog house project. Its author distinguishes sheltered placement from rain exposure. Treat it as that author’s specific project, not a tested ANIMOX design or a universal plan for every yard.
Before you buy the materials
Write down the finished usable dimensions, access method, complete panel assembly, roof details, and maintenance plan. If you cannot answer a structural or material-safety question, resolve it with an appropriate professional before building. A smaller well-planned project is preferable to an impressive-looking shelter with unknown weaknesses.